When your strings are harmonious, a guitar is magical
Guitar tuning is a must for every player—unless you want to strum ear-splitting chords or induce a cringe among the seasoned musicians in your midst. But what does standard guitar tuning look like, and how do you tune a guitar in the first place? If you’re a newcomer to all things guitar, this is the guide for you.
Below, we’re breaking down everything you need to know about guitar tuning: why it matters, the step-by-step tuning process every guitarist uses, tips from the pros, and troubleshooting pointers that will help you kick tuning woes for good.
Importance of regular tuning
Guitar tuning skills are critical. Like surgeons without scalpels, plumbers without wrenches, and chefs without salt, guitarists without a perfectly tuned instrument simply can’t do what they do best.
Plus, investing time in learning how to tune will help you:
- Develop your ear – Nothing will help you identify notes faster than tuning regularly.
- Get comfortable with your guitar – Turning tuning pegs, fiddling with your pickup, and listening for signs of string wear will all help you learn to decipher your instrument.
- Learn quickly – When you play an out-of-tune guitar in your early days, you reinforce wrong (or just slightly off) notes. With consistent tuning, your playing will be more consistent, too.
Standard tuning process
How do you achieve standard guitar tuning? Let’s break it down step by step.
1) Gather materials
First, you’ll need a few things:
- Your guitar, obviously
- A guitar tuner or a tuning device (more on this below)
- A cable for electric guitars (or acoustic guitars with pickups) is optional
- A spare set of electric or acoustic guitar strings (just in case)
Let’s touch on tuners—there are a few different kinds. Some clip to the top of the headstock, some just sit next to your guitar, some plug your guitar’s pickup into them via a cable, and some are even available on your smartphone.
If you play an electric guitar, a clip-on headstock unit or guitar tuner pedal is likely your best option (but remember that you’ll need a cable for the latter).
Other than that, your choice mostly depends on personal preference. Barring the smartphone app option, they’ll all likely use batteries (so make sure you have those on hand, too).

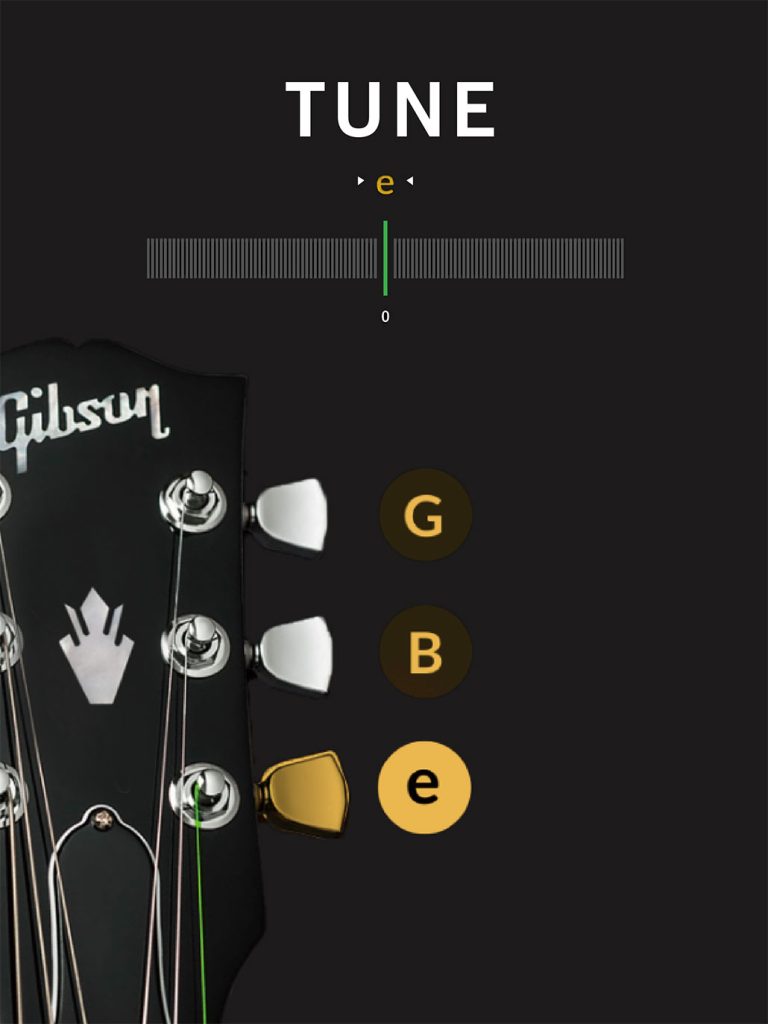
Image: The Gibson App tuner works on both Android and iOS devices
2) Pluck a string
Once your tuner is deployed and you’re ready to tune, it’s time to pluck the strings. But what notes are you actually going for?
Guitarists use many different tunings, including alternate tunings or open tunings. From the lowest to highest (thickest to thinnest) strings:
- Standard tuning – EADGBE
- Drop D Tuning – DADGBE
- Double Drop D – DADGBD
- Open D – DADF#AD
- Open E – EBEG#BE
- Open G – DGDGBD
…and the list goes on. And on.
If you’re a beginner, we recommend you stick with standard tuning and master that first, rather than going for an open tuning or alternate tunings like drop D tuning for now.
Just play one string at a time with a pick or finger, the same way you normally would, without pressing down on the fingerboard. Most digital tuners will provide a greater degree of accuracy if you play the open string repeatedly every few seconds as you tune, rather than letting the note ring out.
3) Read your tuner
After you play a note, look at your tuner for two key details:
- The note – The tuner will display the note you actually played—not the note your string is supposed to sound. Your job is to change the pitch of the string to the required note.
- Is it sharp or flat? – Your tuner might display the right note for the right string (a great start), but it should also tell you whether that note is too sharp (too high) or too flat (too low).
4) Adjust string tension
Once you have information about the note a string is currently sounding, you can adjust it:
- If the string is too low/flat, tighten the string.
- If the string is too high/sharp, loosen the string.
To tighten or loosen a string, turn the corresponding tuning peg on the guitar’s headstock. Your guitar’s construction will determine the direction—the best way to get used to your guitar’s nuances is to listen to how the string’s sound changes as you turn the peg.
Remember that pegs won’t always turn in the same direction to sharpen or flatten notes. On most standard acoustic guitars, for instance, there are three tuning pegs on each side of the headstock. While the three lowest strings will turn away from the nut to tighten (sharpen) and towards the nut to loosen (flatten), the three highest strings are the opposite. Again, listening is key to deciphering your instrument.

Image: Few acoustic guitars make a bigger sonic or visual statement than the SJ-200
5) Test your tuning
Once you’ve tuned all of your strings to the required pitch and your tuner is happy, it’s time to test your handiwork—play a few scales or strum a few chords of your favorite easy acoustic guitar songs for beginners and listen closely. If everything sounds right, you’re done.
If something is a little off, go back to steps two through four and retune. You might have turned a tuning peg by accident or minutely moved one while messing with another.
Alternate step: Tuning by ear
If you have some practice with electronic/smartphone tuners and you want to challenge yourself (or you don’t have an electronic tuner available), you can tune by ear. But you’ll need something to tune to. You have a few options, of varying practicality:
- Another guitar – If you’re confident that you have another guitar that’s perfectly tuned, you can use it as a reference for tuning your second guitar. This is risky—but it can work in a pinch, depending on the circumstances.
- An analog piano – If you have a piano at home, you can play each note on its corresponding key, listen closely, and adjust each guitar string until you get a pitch match. But remember that, since they’re string instruments too, pianos can be out of tune.
- A digital keyboard – A digital keyboard is your best bet if you don’t have a tuner. Since the notes are pre-recorded, they always stay the same. You’ll still have to rely on your ear, though.
Tuning tools and tips
If you’re in the market for a tuner, you have two options: battery-powered tuners and tuning apps. Let’s cover some fan favorites and offer some additional tuning tips.
Battery-powered tuners
Battery-powered tuners are reliable, practical, and portable. Here are a couple of favorites among guitarists:
- Gibson Headstock Tuner – A simple addition to your gear bag, the Gibson Headstock Tuner is exactly what it says on the label: a digital tuner that clips to the top of your headstock and covers all your day-to-day tuning needs.
- BOSS TU-3 Chromatic Tuner – A favorite pedalboard option among gigging musicians, the BOSS TU-3 Chromatic Tuner is a tried-and-true, high-tech tuner. However, there are certainly more affordable stompbox tuners on the market.

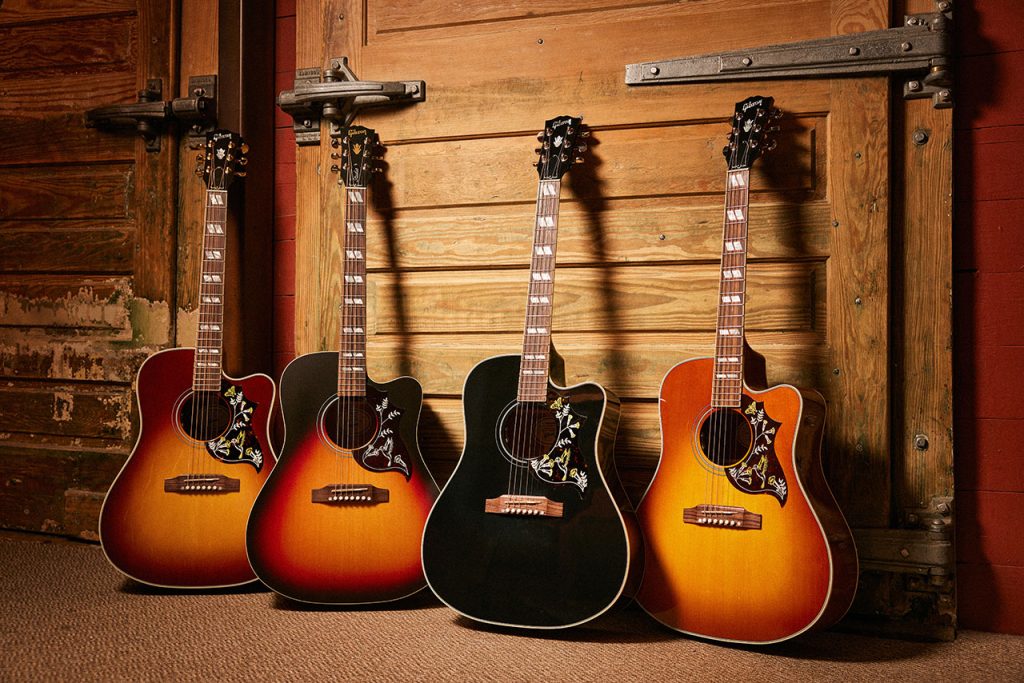
Image: The Gibson Hummingbird Studio EC produces excellent tone and projection, with the Ebony finish being an exclusive from Gibson.com
Tuning apps
You can also use tuners built into smartphone apps—like the Gibson App, the go-to resource for lessons, tips, tools, and more. Beginners and veteran shredders alike love the functions and features of the world’s best guitar app; it’s like having a tuner, metronome, endless songbook, and guitar instructor right in your pocket.
Tips from the pros
What should you know about tuning aside from the basics?
- Try for redundancy – If you’re planning on playing live, make sure you have everything you could possibly need to tune your guitar on the road: backup batteries, a spare cable, and a spare tuner. If it’s a long tour, even spares for your spares might be a good idea!
- Turn tuning pegs slowly – Quick turns of the peg can break strings, whether you’re loosening or tightening. This is especially true if you haven’t played or tuned in a while and your guitar has been gathering dust. Treat your strings with care (and always keep extra sets of strings on hand in case of unexpected pops).
Troubleshooting common tuning issues
While it’s typically an unremarkable process, tuning isn’t without the occasional snafu. Here are a few common conundrums and surefire fixes.
My tuner won’t detect notes
You turn on your tuner, plug in your guitar, strum your first note, and… nothing. The lights are on, but no one seems to be home.
If your tuner isn’t detecting notes, try the following tactics:
- Try the tech support classic – Have you tried turning it off and turning it back on?
- Switch the batteries – Tuners can be finicky when their batteries start to wear down. Pop in a new set and try again.
- Plug in your guitar – If your tuner has a plug-in option, try tuning with a cable connection instead. (And make sure your pickup is turned on and the guitar’s volume knob is turned up—we’ve all been there.)
Chords and scales don’t sound right after tuning
You’ve tuned all of your strings three times and something still isn’t right. Your scales are off and chords sound jumbled. What now?
- Change the batteries – If your tuner seems miscalibrated, sometimes batteries can be to blame. Try a fresh set.
- Double-check your string order – If you’re trying a new tuning for the first time or you can count your tuning experiences on one hand, you might have swapped two strings in the lineup. Triple-check that you tuned your strings to the right notes in the right order.
- Listen and look for string discrepancies – Pick a few chords slowly and listen to each string individually. If one string sounds dull or has a physical nick in it, that could be throwing a wrench in your sound quality.
I popped a string while tuning
Speaking of strings, tuning is one of the most common circumstances for string breaks. When one string fails, you have two options:
- Replace only the broken string – If your strings are in short supply or you’re in a rush to hit the stage (or get to your lesson), you can replace only the broken string. But unless you were part-way through changing strings for a fresh set when the break occurred, this isn’t ideal—swapping just one string in an old set can lead to unbalanced chords and uneven wear, and your fresh string might sound brighter than all of the others.
- Replace all of your strings – To get peak sound quality and maintain even wear, replace all of your strings at the same time—even if you only break one. It’ll take more time, but it’s also excellent practice.
Gibson guitars: 130 years of craftsmanship
Simply put, guitar tuning is a must, but it’s also an opportunity to expand your practical guitar skills, get to know your instrument, and learn to think on your feet as a musician.
And when you need strings, a tuner, or your first guitar, turn to the holy grail of guitars past, present, and future. Gibson has been crafting the best guitars, accessories, and music tools in the industry for well over a century, and we’re just getting started.
Explore our entire collection and discover the Gibson difference.

![200117 [GIBSON] NAMM_2020-7097](/wp-content/uploads/2024/11/200117-GIBSON-NAMM_2020-7097-scaled.jpg)